5 Tips on How to Edit Videos Better
First off, if you’re reading this after April 1st you’ll see that in original video on this topic was titled “My last video…” But in good old April Fools fashion, it’s not! Much more awesome content is on the way and Premiere Gal isn’t going anywhere. Instead this video and blog provides 5 valuable insider video editing tips (based my 5 years of editing on YouTube) to help other editors excel. If you’re on the hunt for a new video editing job, these tips will help you edit faster.
You can watch the video below to learn these tips or if you prefer the written-word, read on, just below.
Tip #1 Color Correct Master Clips
NO: Edit a whole rough cut, color correct one clip, and then copy paste this clip’s attributes to the rest of the clips in the timeline.
YES: Select and color correct the master clip! The changes will then appear across your whole timeline. You may need a few minor tweaks here or there however this tip will save you so much time when editing talking head shots.

Tip #2 Create Project Templates
Organization is key! Saving a template that has all of your folders such as logos, recurring assets, lower thirds; this can save you so much time. Keeping organized this way keeps you from having to re import everything that you need. Simply duplicate your template project (command+D or control+D on PC) that includes your wonderfully organized folders, open it up, and then save under the new project name.

There’s also a plug-in out there called MazeMapping, it will do the heavy organization lifting for you! MazeMapping is an extension that creates a maze or folder structure. You can assign a particular codec or file type to the assigned folder structure that you create. MazeMapping will recognize that it needs to put designated files into these particular folders. Once you hit organize, it will automatically put the files into your designated folders.
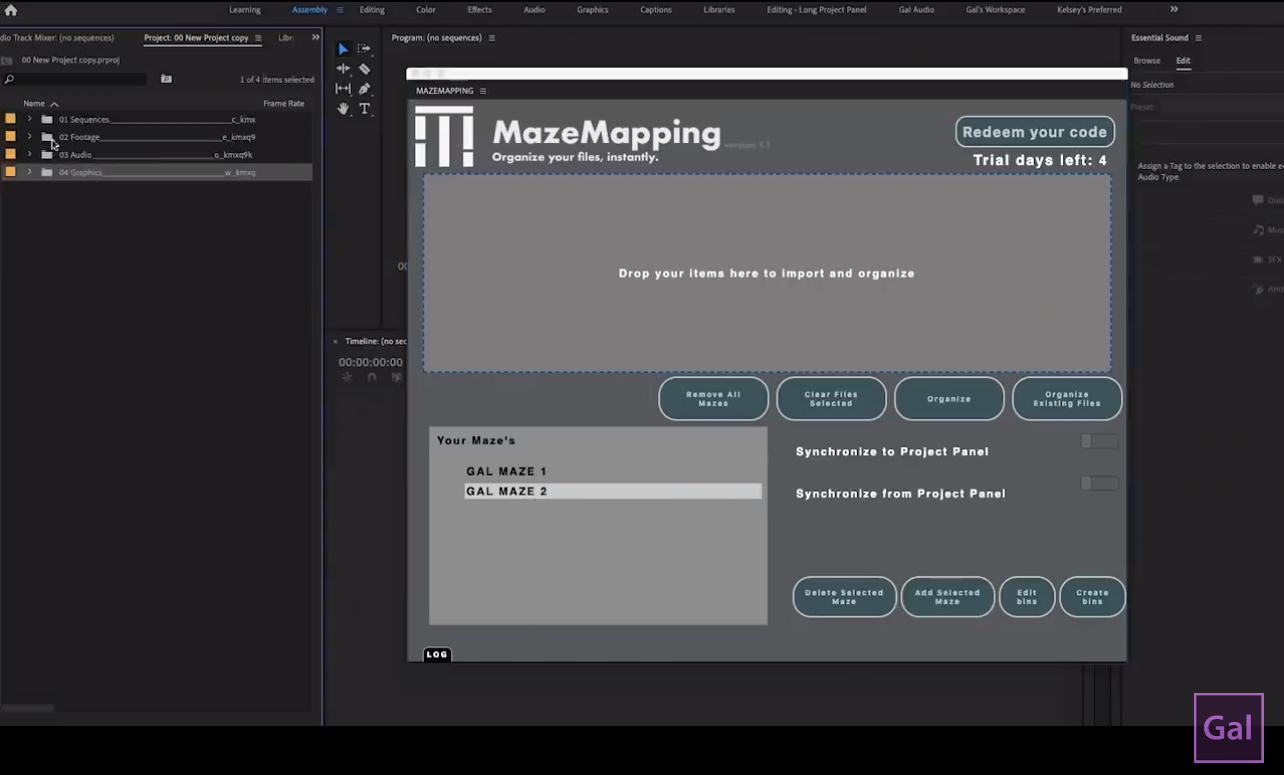
Get 10% off MazeMapping with code: GAL10
Tip #3 Audio Track Mixer
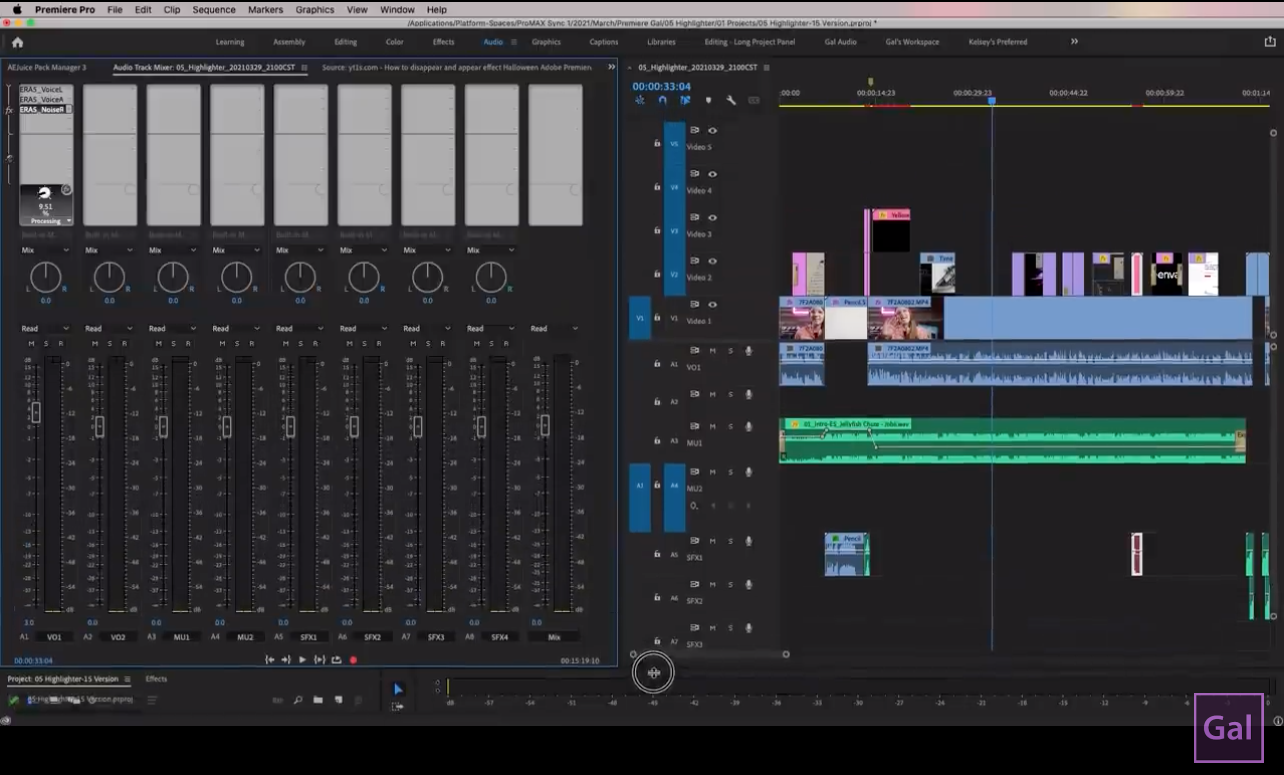
Intimidating at first but super duper useful! Not only can you record straight into Premiere Pro, but you can also organize and apply effects at the track level. For example, you can organize your voice tracks onto certain layers such as A1 & A2, and then have music and effects on A3 & A4 etc. If you organize this way, you can use the audio track mixer to apply effects to that particular audio track and it will affect all of the clips on that audio track.
Of course you may need to tweak or zero in on certain clips for tweaks, but overall it’s a game changer!
Tip #4 Alpha Channel Exports
You can create assets in After Effects and export to Premiere Pro for sound design.
When ready to export, you can choose a format with an alpha channel and use maximum bit depth for better quality. Once you’re done exporting, you’ll see that transparency which will help when you’re layering onto top of video for transition purposes.

Tip #5 Use Adobe Color Themes
In Premiere Pro, you can access saved libraries and color themes. Visit Adobe Creative Cloud and use the create page to create different themes with different Hex codes. This is useful when working with clients or while working on your own videos for consistency. This is a huge time saver!

Welp….those are the 5 tips. Five mighty good tips indeed! If there’s one thing you can say about the Premiere Gal Universe it’s….WOO-HOO! WOO-HOO, because this isn’t Premiere Gal’s last rodeo!
Tons more video tutorials & blogs to come!
If you’re reading this past April 1st, that’s quite alright because this wonderful jocularity warrants extra days of enjoyment! Don’t forget to check out other tutorial on our channel and as always stay safe & keep creating better video with gal.