Edit Essentials by Rampant Design

Hello GALactic friends, Eva here! Are you on a tight schedule and looking for a fast, professional solution to make your video better? I’m going to share with you one of my favorite editing tricks—overlays! Today, you’ll learn how to use the Essentials Pack by Rampant Design Tools, which offers 220 light leaks, film effects, light overlays, flares, light transitions, and more.
I’ve been using overlays and presets by Rampant for years now to add a stylized and professional touch to wedding and corporate projects.
If you want to test them out before buying the essentials pack, you can download over 40 packs of free overlay samples (over 100 clips).
The Essentials Pack comes with:
- 25 film overlays
- 10 flares overlays
- 10 Impact lights overlays
- 20 light leaks overlays
- 35 color, lights and bokeh overlays
- 45 style matte overlays
- 75 transitions overlays (including glitch effects)
- See all previews.

Edit Essentials Film Overlays (25)
So let’s get started using it! WATCH THE FULL TUTORIAL
First, create a folder for every category of elements from the pack so that all you have to do later is go in a folder, select the videos, and drag them to the second layer of your timeline.

SCALING
In the video tutorial, I scaled down the clips by reducing the scale of one overlay to 50%, copied the attributes, and pasted them to all of my overlays. I wanted to keep it easy since I was copying and pasting the opacity settings in the same way. But there’s a faster way to scale...
To scale down 4K (4096 × 2160 pixels) clips to a full HD size (1920 X 1080 pixels)
- Select all of the clips
- Right click and select Scale to Frame Size if you do not want to retain the ability to pan and scan. If you want to keep the ability to pan and scan, then select Set to Frame Size.
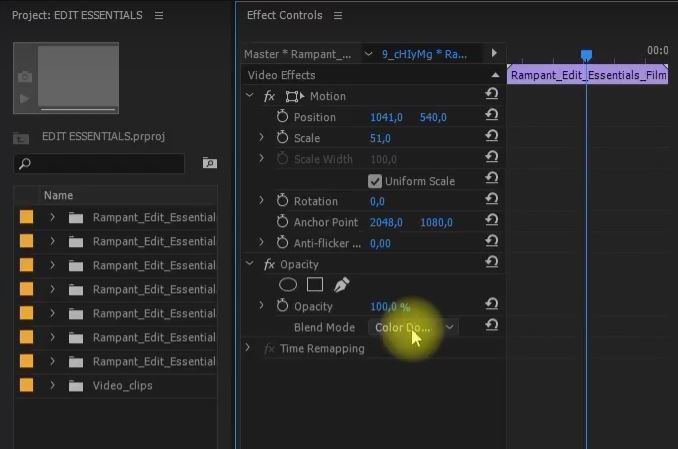
OPACITY & BLENDING
If you want to put the same blending mode on all your overlays (for example, Screen mode)
Click on Opacity in the Effect settings
Copy the information
Select all of your overlays on the second layer of your timeline
Paste the information
Now all your overlays will be set to ‘’Screen’’ mode in the opacity section of the video effects box. You can also reduce the opacity % to make it more subtle or leave it at 100% for a bold look.
COLORS & TINTS
To customize the color overlays
- Go to the Effects panel in Premiere Pro and search for Color Balance RGB
- Drag and drop it to your overlay clip
- Change the Hue and Saturation
STYLE MATTE
This feature is a little more complex to work with but will add a dynamic touch to your videos. You’ll notice that there’s an alpha channel with white shapes and all the rest is transparent. To make your video appear in the white shapes, you have to add a Track Matte key.
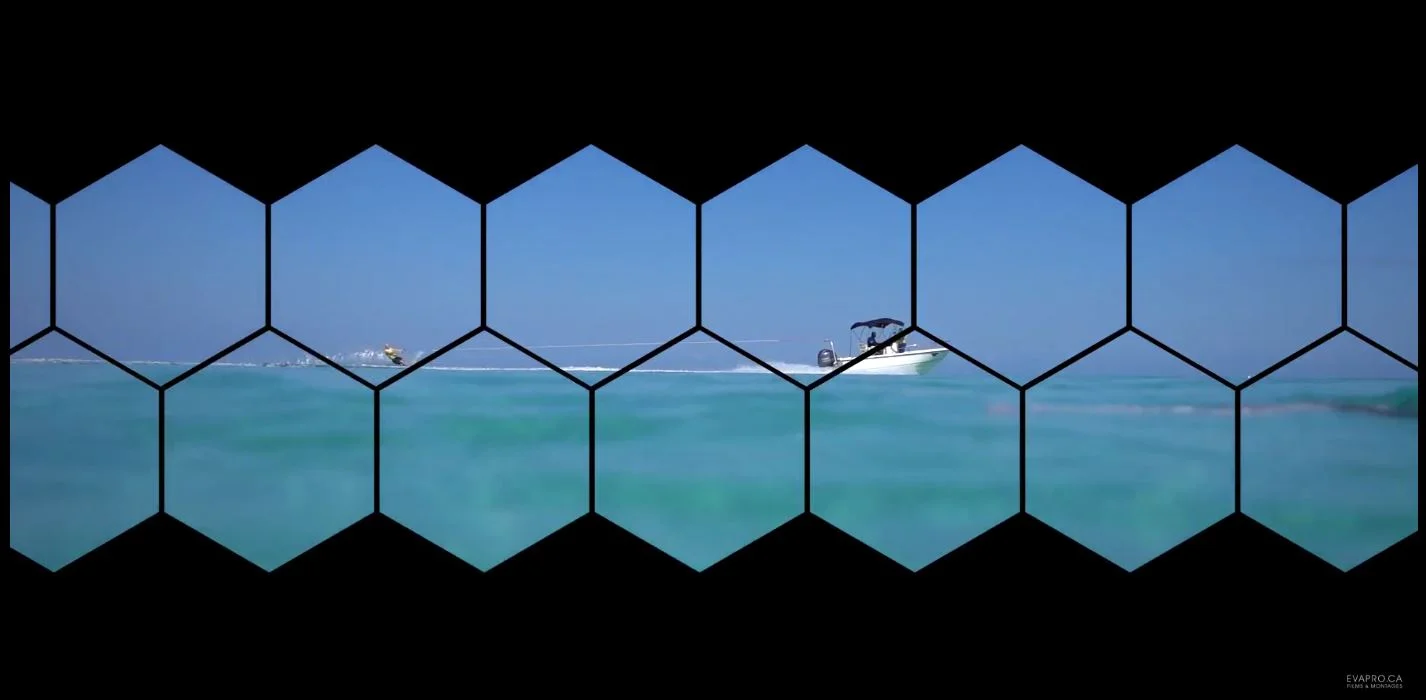
- Go to Effects and select Track Matte Key
- Drag and drop the Track Matte Key on the clip under the Style Matte overlay
- In the Effect control section, set your Matte to Alpha
- Select which layer your Style Matte is (for example, Layer 2)
Your video should now appear inside the white shapes of the Style Matte overlay. You can easily copy and paste this Track Matte Key information to your video clips on the first layer.

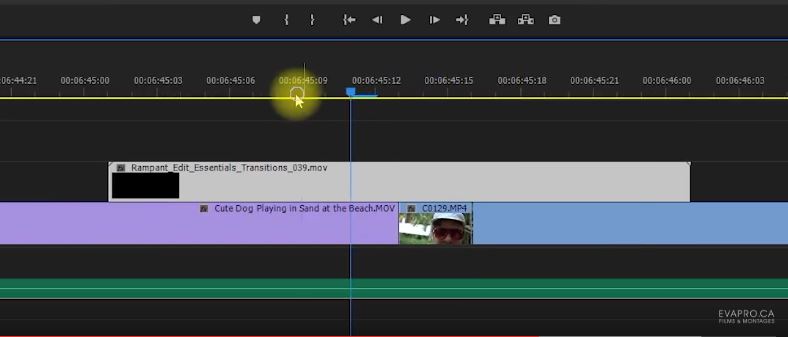
GLITCH TRANSITIONS AND MORE
The Essentials Pack also gives you some sweet glitch transitions, matte transitions, light effects, and more. To use a transition, you have to place it between two clips. Find the brightest moment of the clip (the frame in the clip that is almost perfectly white or full of one color that can cover the clips under) and place it on the second layer where you want the transition. Adjust the blending mode if needed. For these, I’ve sometimes used a Track Matte Key like I showed you above, and it looked so awesome!
Make sure to check out my full video tutorial for more techniques! And don't forget to go get your free overlays today and start experimenting!
Have fun guys!
Eva Landry
X