
GloFX for your Video!

Hello GALactic friends! If you’re searching for new filters and techniques to use with filming and photography, you might like this idea. When I discovered diffraction effect glasses on Glofx.com, I was really inspired by the shapes they produced when looking at light sources. I thought, “What if I could film through the glasses and capture those awesome shapes!?” Diffraction effect glasses come in both plastic and cardboard frames (super lightweight) so they’re perfect for what I intended to do with them.

I made a music video, and by constructing a rig out of cardboard paper I was able to strap the GloFX glasses to my camera lens. The result? Ultra dreamy shapes.

3 Steps for Building the Rig
Step 1
Place your lens on cardboard paper and trace a circle around the lens. The color and thickness of the paper is up to you—the thicker it is, the longer it’ll probably last.

Step 2
Draw rectangles all around the circle. For best results, cut them about an inch long from the center of the circle. Otherwise, if they’re too long, it’s more difficult to adjust focus once the rig is on the lens. After they’re cut, fold all the rectangles in the same direction.

Step 3
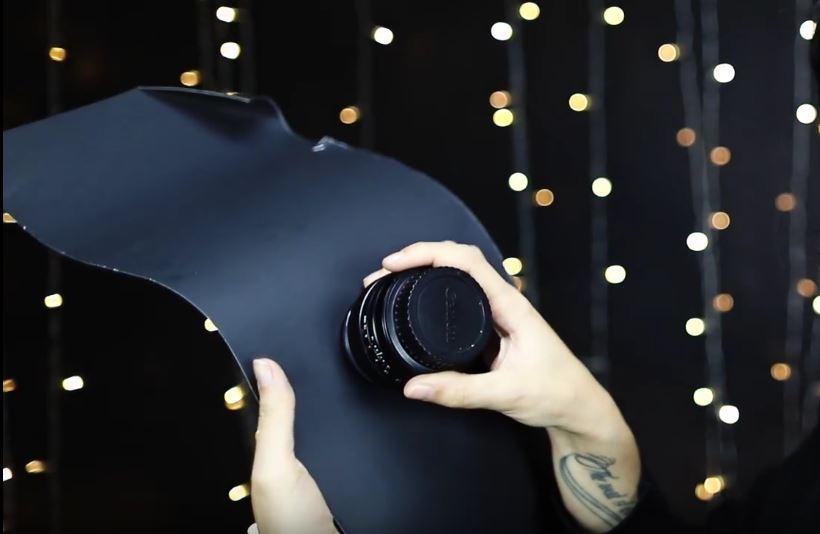
Now draw a rectangle in the middle of your circle and cut it out. Here, the rectangle is exactly the size of an SD card (so you could use that for tracing). Otherwise, just place the glasses on the middle of the cardboard circle and then trace the outline of the glass part.

Once you’ve cut out your rectangle, cut a line about 3mm long from the top and bottom corners. This creates a grip to secure the glasses in place.
Finally strap the rig to your lens with an elastic band.
Watch The Tutorial
Tips on Lighting
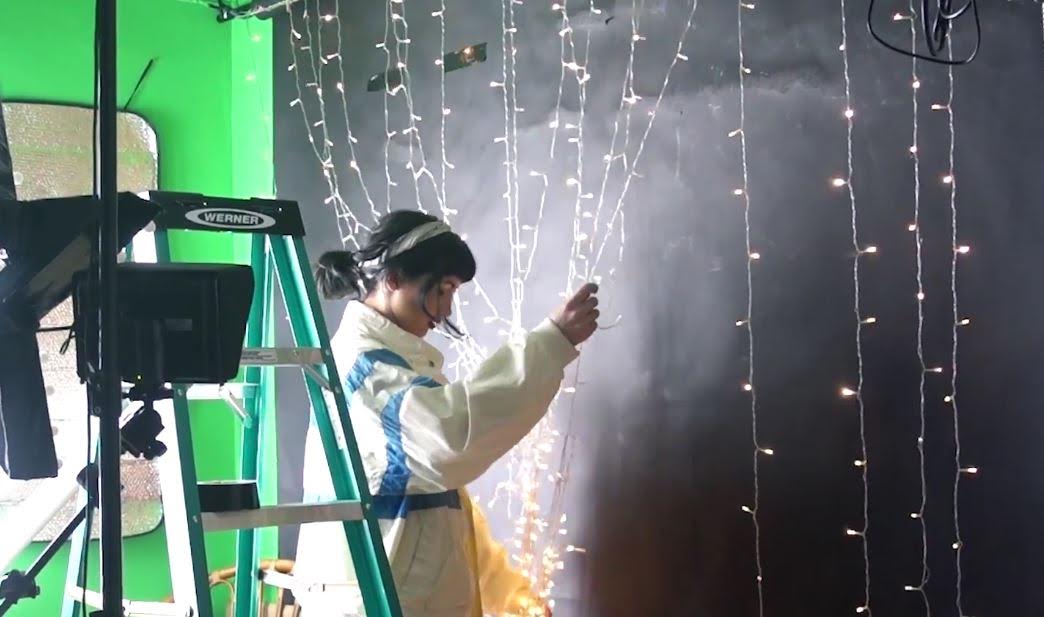
1. I used a ‘’curtain of lights." I bought warm-toned lights for my wedding (the ones seen below), but when filming it is always better to use pure white lights for a more accurate white balance. Warm-tone lights will affect skin color by making it yellow, and if you wish to remove the yellow tones during the editing phase, the skin/eyes will become very desaturated. On the other hand, it’ll be way easier to adjust the temperature of the image if you use white lights.

(Example of the Star FX glasses when pointed towards a curtain of lights)
2. Before strapping the rig to the lens, make sure the subject and the lights are both in focus, as that is necessary to create the shapes. If things aren’t in focus, the lights will have a bokeh appearance.
Tips for Filming
1. I got the best results with my 50mm lens and smaller cameras, so I used my Zeiss 50mm F1.4 on my DSLR Canon 5d Mark IV.
2. On DSLR cameras, you’ll want to set the f-stop to around f/11 or higher to get a deeper depth of field and have more of your shot in focus. Remember, the more you increase the f-stop, the darker your subject will get, so you’ll want to increase your ISO accordingly until the shot is bright enough. If your camera isn’t great in low-light settings, you may want to add an additional light source to brighten your subject in front of the camera.
3. If your footage is cooler in tone than you want it to be, you can always go warmer by increasing your K number (Kelvin temperature) in the white balance settings of your camera. Around 5000K, you should notice that tones become warmer.
Your Turn!
As you can see, using these glasses as a filter creates a fun, retro, circus vibe and a glow that echos. If you want to try it out for yourself, use my code ‘’EVAPRO’’ to get 10% off your Glofx.com purchase. Make sure to check out the kaleidoscopic glasses too.
Have fun experimenting! X, Eva
