How to Make Animated Split Screens in Premiere Pro (10 Split Screens Template)
When we think of split screens, we typically think of a static frame with multiple images. If the layout is creative, there may be some vivid color or images splashed on screen. What about movement? Movement can be quite exciting and when coupled with split screens, the opportunity for creativity is endless. Today we are taking a closer look at a very simple yet highly creative two-split animated template you can make yourself.
What will you learn? In addition to flexing our creative muscles, we will also look at: setting up Premiere Pro guides and rulers, incorporating key frames for split screen animation, and discussing templates that can help achieve many different split screen looks. Let’s take a look!
Also, to note, if you click on the header title for each step it will take you to the exact time-code in the video tutorial.
Step #1 Setting Up The Split
First, create your main sequence. If you’re working with Full HD, your sequence frame size should be 1920px horizontal by 1080px vertical. Now, let’s make our guides.
First make sure the program window is selected, then go to the top menu > View > Show Rulers. To find the perfect half way point, you will do a little light math. If you divide 1920 (the pixel width of the frame) by 2, you will find that the perfect middle of the screen is going to be 960 or 960 pixels. Click on the ruler, and drag your guide to 960px to create your halfway point.
Now that we have our midway point, we want to create a black gap in between the two video frames, say for instance a 10 pixel gap. To do this you would subtract 5 pixels for each frame, 960-5 = 955, so each frame we are making will be 955 pixels wide. This will create a 10 pixel gap between the split frames. (Note: The height of the frame will remain the same as the original, 1080 pixels).

From here we can set our final guide lines, you can right click on our existing guide and type in “955.” Then add 10 pixels and then next frame will start at 965px, so click on the ruler again and drag out a new guide line to 965px. Now between our two guide lines is our 10px gap that we will use to align our shots.
Step #2: Creating Placeholder Frames
Now the guides are set, we can now make a new sequence for our frame placeholder. Go to New Item > Sequence. Then from the settings window, select the Settings tab and change the horizontal width from 1920 to 955. Label your sequence “Shot 1”. Duplicate the sequence and rename the second sequence, “Shot 2”. Now we have our two placeholders.
Step #3: Dragging Video into Frame Placeholders
Now you can drag your video into the 955 x 1080 sequence placeholders and you can make size/position adjustments by using Effect Controls.
Remember that when dragging in your video, keep the existing settings so it doesn’t change the settings you’ve just changed to your desired specifications. Repeat the process for shot two sequence.
Step #4: Nesting Frame Placeholder (Sequences)
Now you’re ready to drag in your shot placeholders into your master sequence. This process is called “nesting,” which just means you place or drag a sequence inside of another sequence (Russian doll style). Before you nest, be sure that the icon for insert/overwrite sequence as nests, is turned on. (is highlighted in blue). This feature will make sure that when you drag the sequences into your master sequence, it will just pull in the sequence.

Now you can drag in our shot 1 and shot 2 sequences, then use the effect controls to move them in-line with our two-split guides.
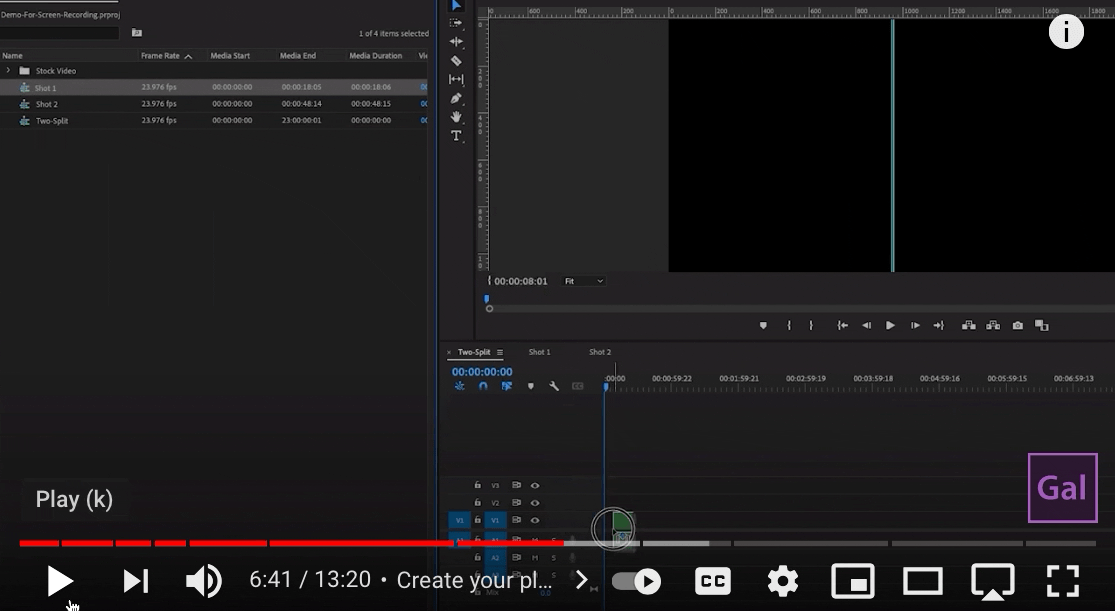
Step #5 Animating the Splits
To get started you will click on a shot layer and then move the playhead to the point in the timeline where you want the motion to be in frame. Go to effect controls and place a keyframe in by hitting the stop watch sitting to the left of “Position”. Now, drag the playhead back to the beginning of the video. Go back to effect controls and drag the X Value to the left until the frame is completely off screen. You will observe that a new time frame has been created.
Pro Tip: To help the animation appear smooth, right click on a keyframe and select Temporal Interpolation > Ease In

Now you will do the exact same process for the shot 2 layer, however there is one main difference. Instead of dragging the X position tool to the left so that the frame is off screen, you will drag the frame to the right, until the frame is off screen. Don’t forget to right click on the ending keyframe and select “Ease” to smooth out the animation
Step #6 Spice It Up With More Shots!
Let’s say that you want to have two more shots come in. You can do it! First Duplicate shot 2, twice. Rename them, so you have a Shot 3 and a Shot 4.

Then, drag in the video clips into sequences for shot 3 and 4. Once you’re ready, drag Shot 3 and Shot 4 sequences into your master sequences while layering them on top of shot 1 and shot 2 layer.
Next, use “ Command + C” or “Cntrl C” to copy shot 1. Right Click on shot 3 and select Paste Attributes. Here you will only want to have Motion selected so only the motion attribute is applied. Use the same process while copying shot 2, and right clicking shot 4 to paste motion attribute only.

For final touches, drag shot 3 and 4 layers to the right and place them where you want them to enter on your timeline. The end result is lively, fun, and as artistic as you’d like it to be, so enjoy & get creative!

Edit Faster with Gal’s 10 Split Template
If you’re looking to save time you can use this Animated Split Screen template which have pre-created animations designed by Premiere Gal. After downloading the template, drag the file into your existing project. You will see that all templates are imported into your project. Simply replace media and customize to your liking. If you choose to reuse templates multiple times, you can certainly do so! Just import the Gal Project file again into your Project Panel and you can reuse a template placeholders.

This Adobe Premiere Pro Animated Split Screen template is the perfect starting point for your next a-cappella music video or remote video you are producing for your client or music group.
Watch the Tutorial to See it in Action
Features?
10 Customizable Animated Split Screen Sets
Drag & Drop placeholders
1080p Full HD ready
Designed in Premiere Pro by Premiere Gal for Premiere Pro editors.
No plugins needed.
Compatibility:
Adobe Premiere Pro Version 15.0 and higher (Creative Cloud)
*Video clips not included.
Working with split screen animations is definitely exciting and can really add that wow effect to your video or perhaps even a work presentation. Hopefully you are inspired to go out and work with split screens while pushing that creative envelope. As always, keep creating better video with Gal.