How To Create Rolling Film Credits In Adobe Premiere Pro
Are you the DIY Editor in need of professional looking credits, ASAP? Maybe you’re the movie enthusiast who enjoys watching the rolling credits in the theater and wants to master the art within your own personal videos. Taking a moment to think about the credit process, it would make sense that the task must be difficult or require expensive software right? Actually, it is quite simple and something that YOU can do in a matter of minutes while inside of Adobe Premiere Pro. In today’s blog we’ll go over a brief rundown on this particular area of Cinematic magic!
Step 1
First, you’ll start with the Essential Graphics Panel, select New Layer, and then Text. *Pro Tip#1: Do not forget to use Align and Transform Tools to make sure your credits are perfectly centered.

Step 2
Once your credits are complete, scroll on down to Responsive design and click the “roll” box. This will put those credits into motion! You will also see some additional settings that you can adjust such as : Pre Roll, Post Roll, Ease In, and Ease Out.
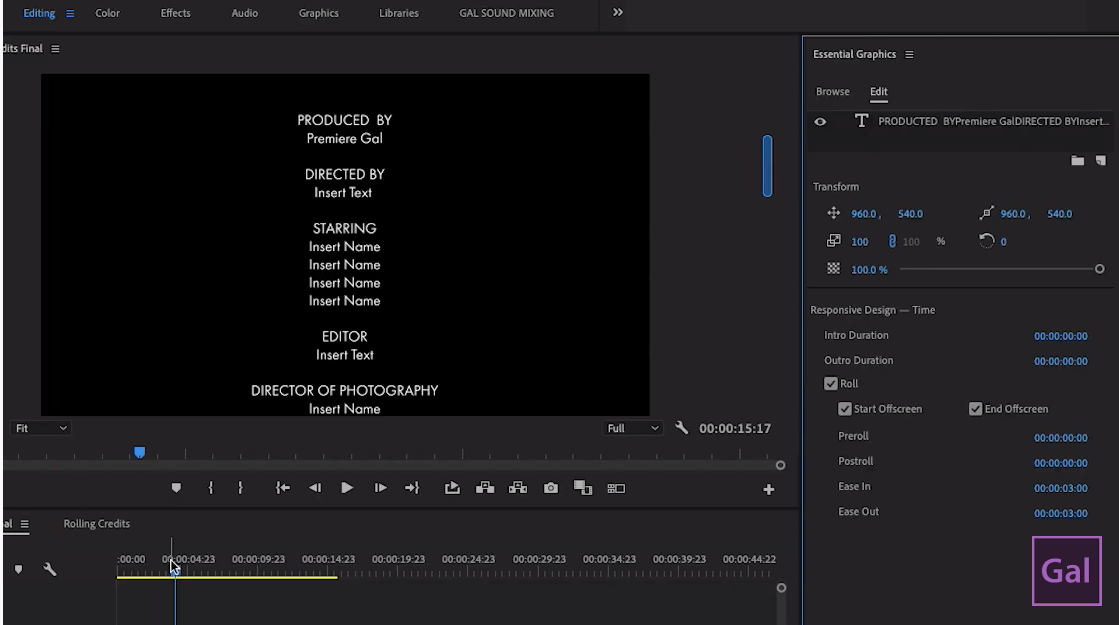
*Pro Tip #2: The speed of the rolling credits is directly associated with the length of the clip. If the length of the clip is shorter, the rolling credit speed will be faster. If you extend the credit clip to be longer in length, the speed of the rolling credits will become slower.
Below is a visual example of a long clip.

Rolling Credit .MOGRT
Now let’s say you’ve just completed editing a masterpiece project that’s due in five minutes and you forgot all about the credits!! Adobe Premiere Pro has the answer to this problem too! You can turn your rolling credits Clip into a Motion Graphic Template or .MOGRT that you can save and use for later projects. All you need to do is right click on the credits clip, select export as motion graphic, and then save in the local templates folder. It’s that simple!

Creating Rolling Credits with Premiere Pro is such an easy process, you will find yourself using this method or saved .mogrt template that you create, time and time again. With the ability to make simple adjustments and animate the roll with the click of one button, you achieve excellent looking credits and the ability to give that cinematic magic to the masterpiece that you’ve created in your timeline.
Check out the full quick tips tutorial on Rolling Credits via the Premiere Gal YouTube Channel: youtube.com/premieregal
Until next time, stay safe & stay creative!